

Photos On Wood
After seeing this tutorial, I was inspired try it myself. It has led to a couple of pieces and a lot of notes. It was a lot of work, but they turned out great and I learned a lot.
Also, you can get this done professionally at places like WoodSnap, but they don't do the nice shiny finish. If I had gone down this route, I would still follow the same steps for choosing and preparing the photo.
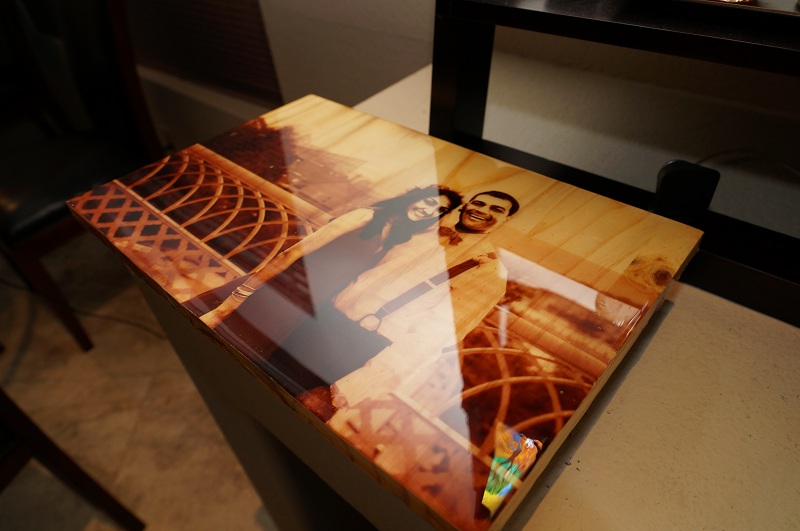
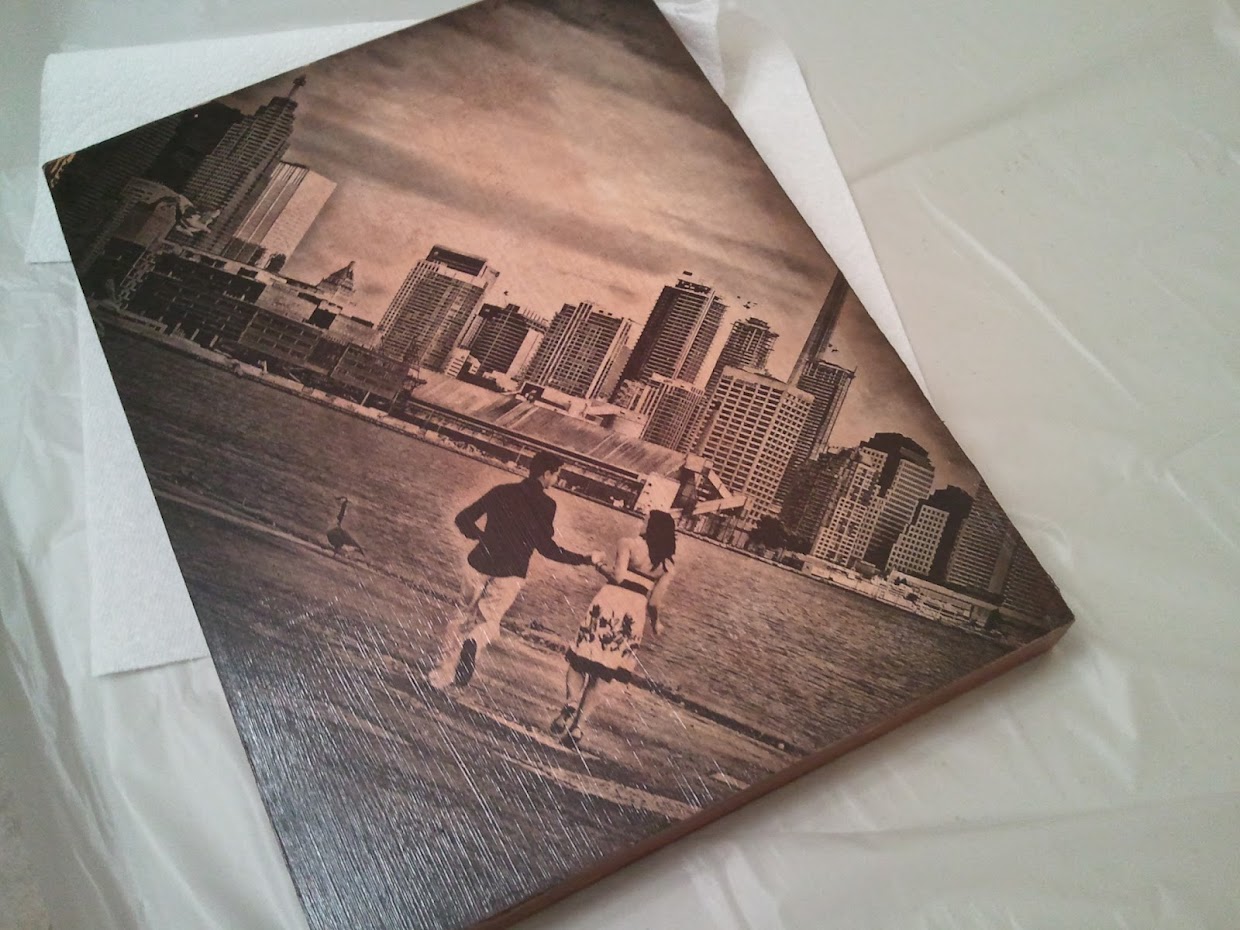
- Choosing a photo
- Make sure that at least 40% of the photo is white/transparent or a very light color. This allows the wood to show through the photo. If the photo is totally colored, you won't be able to tell it was printed on wood.
- Preparing the Photo
- If you're using a black and white photo, colorize the photo to match the shade of wood
- High contrast skin/face is important, it should be almost cartoon-like. The rest of the scenery can be normal.
- Printing
- Print on a color laser printer (inkjet will not work).
- 20-lb paper is fine.
- 32-lb paper is better. The heavier paper means the laser printer will produce a better image (less grainy). Downside is that the heavier paper takes more time to rub off.
- Preparing the wood
- Make the wood slightly smaller than the photo, edge-to-edge looks great
- Oil is a great way to bring out he grain of the wood, apply it before the Gel medium.
- The measurements listed on a piece of wood bought from Home Depot aren't necessarily the real dimemsions!
- Avoid knots when choosing the piece of wood. Dents and scratches aren't ideal, but seemingly don't matter.
- Applying Gel Medium:
- Too much is better than too little.
- Too little causes parts of the photo to come of when rubbing away the picture
- Too much and the paper will get moist and ripple. I think you can flatten these out, but I haven't tried.
- Bubbles are the worst. Bubbles are hard to distinguish from ripples that are filled with excess gel medium.
- Rubbing off the paper
- This till take at least two passes. As the water dries, unremoved fibers will become visible.
- I've always tried to use a minimal amount of water. I suspect water causes the gel medium to bubble.
- Angle wood almost parallel to light source to the surface to detect remaining fibers of paper
- Applying Sealer
- Modge Podge is a quick and easy
- You can use a wood __ to color the photo right before applying the Modge Podge.
- Epoxy Resin is tricky but looks great
- Prepare your work area really well
- Create your dust-free environment ahead of time.
- Tape the underside of the wood with painter's tape so that the beads of epoxy that form can be removed easily
- Red cups, plastic forks (spreader) and knives (stirer) work well. The sides will have to be done using a paint brush that you no longer want.
- Get a long lighter to remove bubbles.
- Epoxy resin does not seem to be flammable
- Leveling before pouring the resin is important
- Elevate the wood intelligently. Run-off can bond the wood to anything.
- Prepare your work area really well
- Modge Podge is a quick and easy